


Are you ready to take your GraphQL API testing to the next level? If you've ever wondered how to test your GraphQL endpoints using Jest effectively, you're in the right place. Testing GraphQL APIs can be challenging due to their unique query language and resolvers, but fear not – Jest is here to simplify the process.
You can fork this GitHub repository (Repository Link) and get along with me step-by-step
Let's dive in and unlock the secrets to effective GraphQL API testing together!
Installing Jest and required dependencies
# for typescript
npm install --save-dev ts-jest

# for javascript
npm install --save-dev jest
Configuring Jest for testing
Since we are using typescript, we need to configure our application a little bit
Let's initialize the jest using the command
npx ts-jest config:init
This will generate a jest.config.js file. This is what makes jest to work with typescript.

Writing Test cases
Let's create a file named createPost.test.ts in the tests** directory.
Then import the @jest/globals library, which has the required functions to test.
import {describe, expect, test} from '@jest/globals';
import {GraphQLClient} from 'graphql-request';
We need a graphql client to execute the graphql query and get the response to compare the expected result. We are going to use the 'graphql-request' library for that
import {GraphQLClient} from 'graphql-request';

// create a new graphql client for requesting to our api
const client = new GraphQLClient("http://localhost:4000/")
Let's define what we are going to test in this example.
In this example, we are going to test the createPost mutation in which we first create the post using our API and then check whether it has the same title as the post or not
describe('create post mutation', () => {

    test('creates a new post', async () => {

        // graphql query
        const query = `#graphql
        mutation CREATE_POST_TEST($title: String!, $content: String) {
            createPost(title: $title, content: $content) {
                _id
                content
                content
                title
            }
        }
        `;

        // query variables
        const variables = {
            "title": "testing post title",
            "content": "testing post content"
        };

        let data: any = {};

        try {
            // execute the query
            data = await client.request(query, variables);

        } catch (e) {
            // report the error
            console.log(e)
        }

        expect(data?.createPost).toHaveProperty("title", variables?.title)

    });

});
In the above code
We use describe to describe a unit test suite. Even though it's not required, it's helpful to understand what this test suite is all about.
In the test, we write the test code. The first argument of this function tells about what this test case is all about and the second argument is a callback function that contains the test code
In the callback function first, we sent the API request and then compared the actual and expected responses. The test passes if both match otherwise it fails.
Execute the test cases
There are two steps in executing the test cases
- Start the API server
npm run start:dev
- Run jest to execute all of the test cases
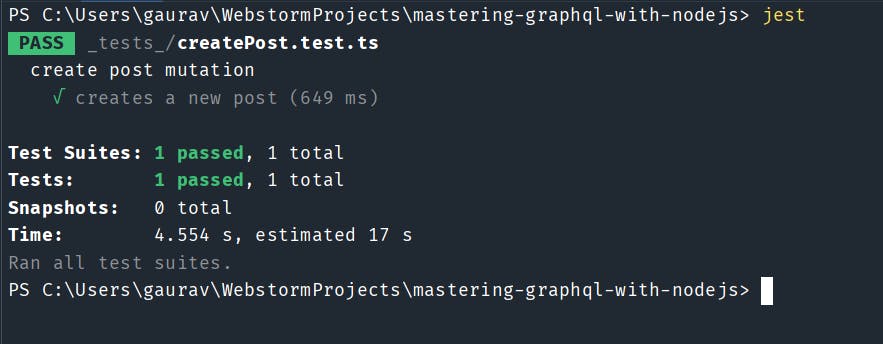
jest
Output
With Jest's help, we've learned how to set up a killer testing environment, write top-notch test cases, and integrate testing seamlessly into our workflow. So, let's keep that testing momentum going and deliver some seriously reliable and resilient APIs to our users! Ready to level up? Let's do this!